* Clarification, update links, organize

* add nfs warning, fix debian version

* add ENOSPC troubleshooting

* add more enospc detail

* add note on editing username

* Documentation typo/grammar cleanup part 9

* grammar cleanup v10

* grammar editing v10

* grammar updates v11

* Grammar updates v11

* Lucky #13 (grammar updates)

* grammar updates v14

* grammar updates v15
2.1 KiB
CloudInit
CloudInit support is available in the 4.11 release and higher
Cloud-init is a program "that handles the early initialization of a cloud instance"[^n]. In other words, you can, on a "cloud-init"-ready template VM, pass a lot of data at first boot:
- setting the hostname
- add ssh keys
- automatically grow the file system
- create users
- and a lot more!
This tool is pretty standard and used everywhere. A lot of existing cloud templates are using it.
So it means very easily customizing your VM when you create it from a compatible template. It brings you closer to the "instance" principle, like in Amazon cloud or OpenStack.
Requirements
You only need to use a template of a VM with CloudInit installed inside it. Check this blog post to learn how to install CloudInit.
Usage
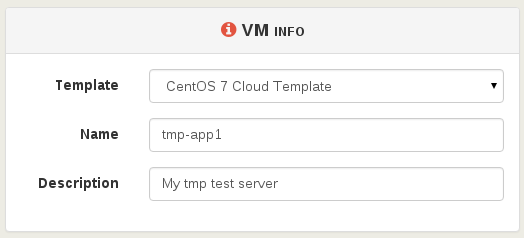
First, select your compatible template (CloudInit ready) and name it:
Then, activate the config drive and insert your SSH key. Or you can also use a custom CloudInit configuration:
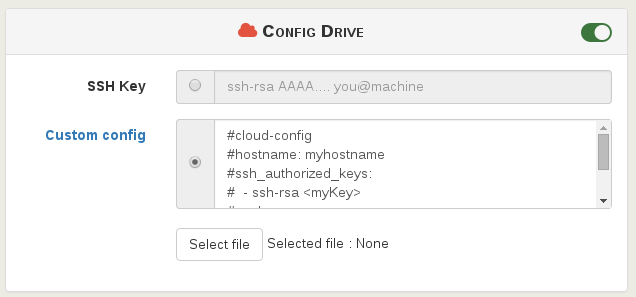
CloudInit configuration examples are available here.
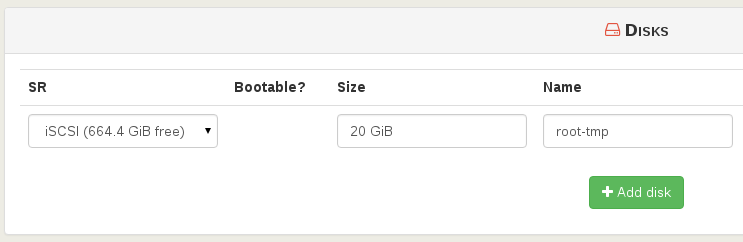
You can extend the disk size (in this case, the template disk was 8 GiB originally):
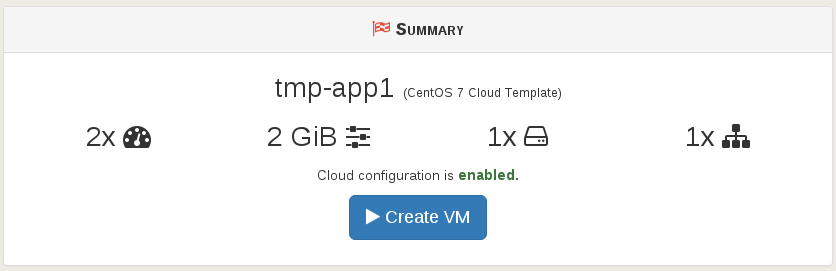
Finally, create the VM:
Now start the VM and SSH to its IP:
- the system has the right VM hostname (from VM name)
- you don't need to use a password to access it (thanks to your SSH key):
$ ssh centos@192.168.100.226
[centos@tmp-app1 ~]$
The default cloud-init configuration can allow you to be to be a sudoer directly:
[centos@tmp-app1 ~]$ sudo -s
[root@tmp-app1 centos]#
Check the root file system size: indeed, it was automatically increased to what you need:
[centos@tmp-app1 ~]$ df -h
/dev/xvda1          20G    1,2G   18G   6% /